Mastering Roof Leak Detection: Your Step-by-Step DIY Guide
Introduction: Discovering a leak in your roof can be a stressful experience. However, armed with the proper knowledge and a little determination, you can detect roof leaks on your own. In this comprehensive guide, brought to you by WS Roofing South Elmsall, we’ll walk you through the step-by-step DIY roof leak detection process. By learning how to identify the source of the leak, you’ll be better equipped to take prompt action and prevent further damage.
Step 1: Prepare for Inspection: Before you start, gather the necessary tools, including a flashlight, ladder, binoculars, safety gear, and a notepad for documenting your findings. Safety is paramount, so always take precautions while working at heights.
Step 2: Choose a Dry Day: Wait for a clear, dry day to perform your inspection. Rain and moisture can obscure leak sources, making detection more challenging.
Step 3: Begin Inside the House: Head to your attic and carefully inspect the area for signs of water damage. Look for damp spots, water stains, and mould growth on the ceiling and walls.
Step 4: Trace the Source: Follow the trail of water stains to their highest point. The leak source is likely above this spot on the roof’s surface.
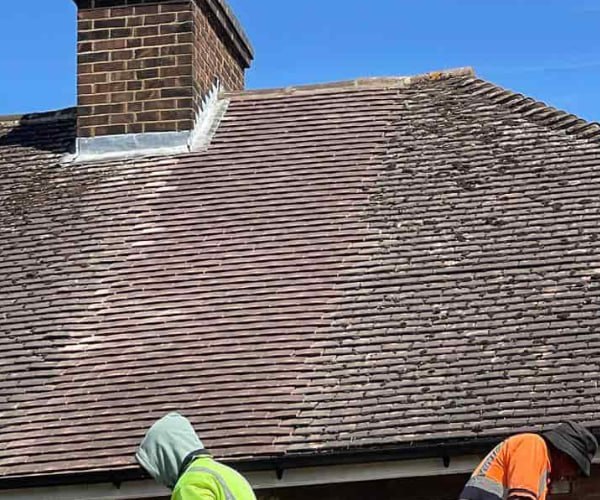
Step 5: Inspect the Roof Exterior: Climb up to your roof using a secure ladder and conduct a visual inspection. Look for missing or damaged shingles, cracked flashing, and gaps around vents and chimneys.
Step 6: Check Ventilation Systems: Examine the areas around vents, chimneys, and skylights. Check for cracked or loose flashing and ensure they’re properly sealed.
Step 7: Check Gutters and Downspouts: Inspect gutters and downspouts for blockages that could cause water to overflow and seep into the roof.
Step 8: Water Test: Enlist a helper to run water from a hose onto different roof sections while you monitor the attic for any signs of leaks.
Step 9: Document Your Findings: Make a note of any damage or potential sources of leaks you find during your inspection. This will help you when it’s time to repair the issues.
Step 10: Address Repairs: Based on your findings, decide whether you’re comfortable making the necessary repairs yourself or if it’s best to call in a professional like WS Roofing South Elmsall.
Tips for Success:
- Always prioritise safety and use proper protective gear.
- Inspect your roof at least twice a year to catch potential issues early.
- Keep your gutters clean to prevent water buildup and possible leaks.
- Use high-quality roofing sealants and materials for repairs.
Conclusion: Mastering the art of DIY roof leak detection empowers homeowners to take control of their roof’s health. Following this step-by-step guide from WS Roofing South Elmsall, you can confidently identify the source of leaks and take action to prevent further damage. While DIY can be effective, some repairs may require professional expertise. Don’t hesitate to contact us for a thorough inspection, reliable advice, and expert solutions to keep your roof in prime condition. Your home’s protection is our top priority.
Call us on: 01977 804 687
Click here to find out more about WS Roofing South Elmsall
Click here to complete our contact form and see how we can help with your roofing needs.